Image Link
All images of the trip can be found here.
A vacation on film
Because I left my now former employer at the end of June and I had 80h of overtime still in my time account I was able to take a vacation at the end of the month with three of my friends. So we booked flights and took off to Tenerife in the Canaries. Why Tenerife? The Spanish island has year round perfect weather, great scenery and amazing food. What more do you want.
Before Tenerife I never shot a trip on film. To make the most of it, I took with me three cameras and shot 7 rolls of film with 36 exposures each. More details on the equipment later. For the processing I used the development expertise of “Foto Seitz” in Nuremberg, a local photo shop near me. The digitalization of the negatives was done by myself.
Technical details
Before I talk about the pictures I want to show you my technical setup. First my used cameras and lenses:
| Camera | Lenses |
|---|---|
| Minolta XD7 | Minolta 50mm f/1.4, Minolta 24-35mm f/3.5, Minolta 70-210mm f/4 |
| Minolta SRT 100X | Minolta 50mm f/1.4, Minolta 24-35mm f/3.5, Minolta 70-210mm f/4 |
| Fujica STX-1 | Fujinon 55mm f/2.2, Porst 28mm f/2.8 |
For the digitalization I used my Sony α68 with the Sigma 105mm f/2.8 macro lens. For the inverting of the negatives I used the paid software “FilmLab”.
Lomography Fantome 8 (SRT 100X)
The first film I want to present is the extreme low speed (ISO 8) Fantome 8 black and white film by Lomography. The film proved to be very difficult to shoot. Not because of the low speed but because the photos require extreme contrast to create an interesting look. A well-lit scenery that has not a lot of contrast creates a flat uninteresting image. But if you find the right composition the film creates interesting looks with inky blacks.
Fujifilm Color 200 (XD7)
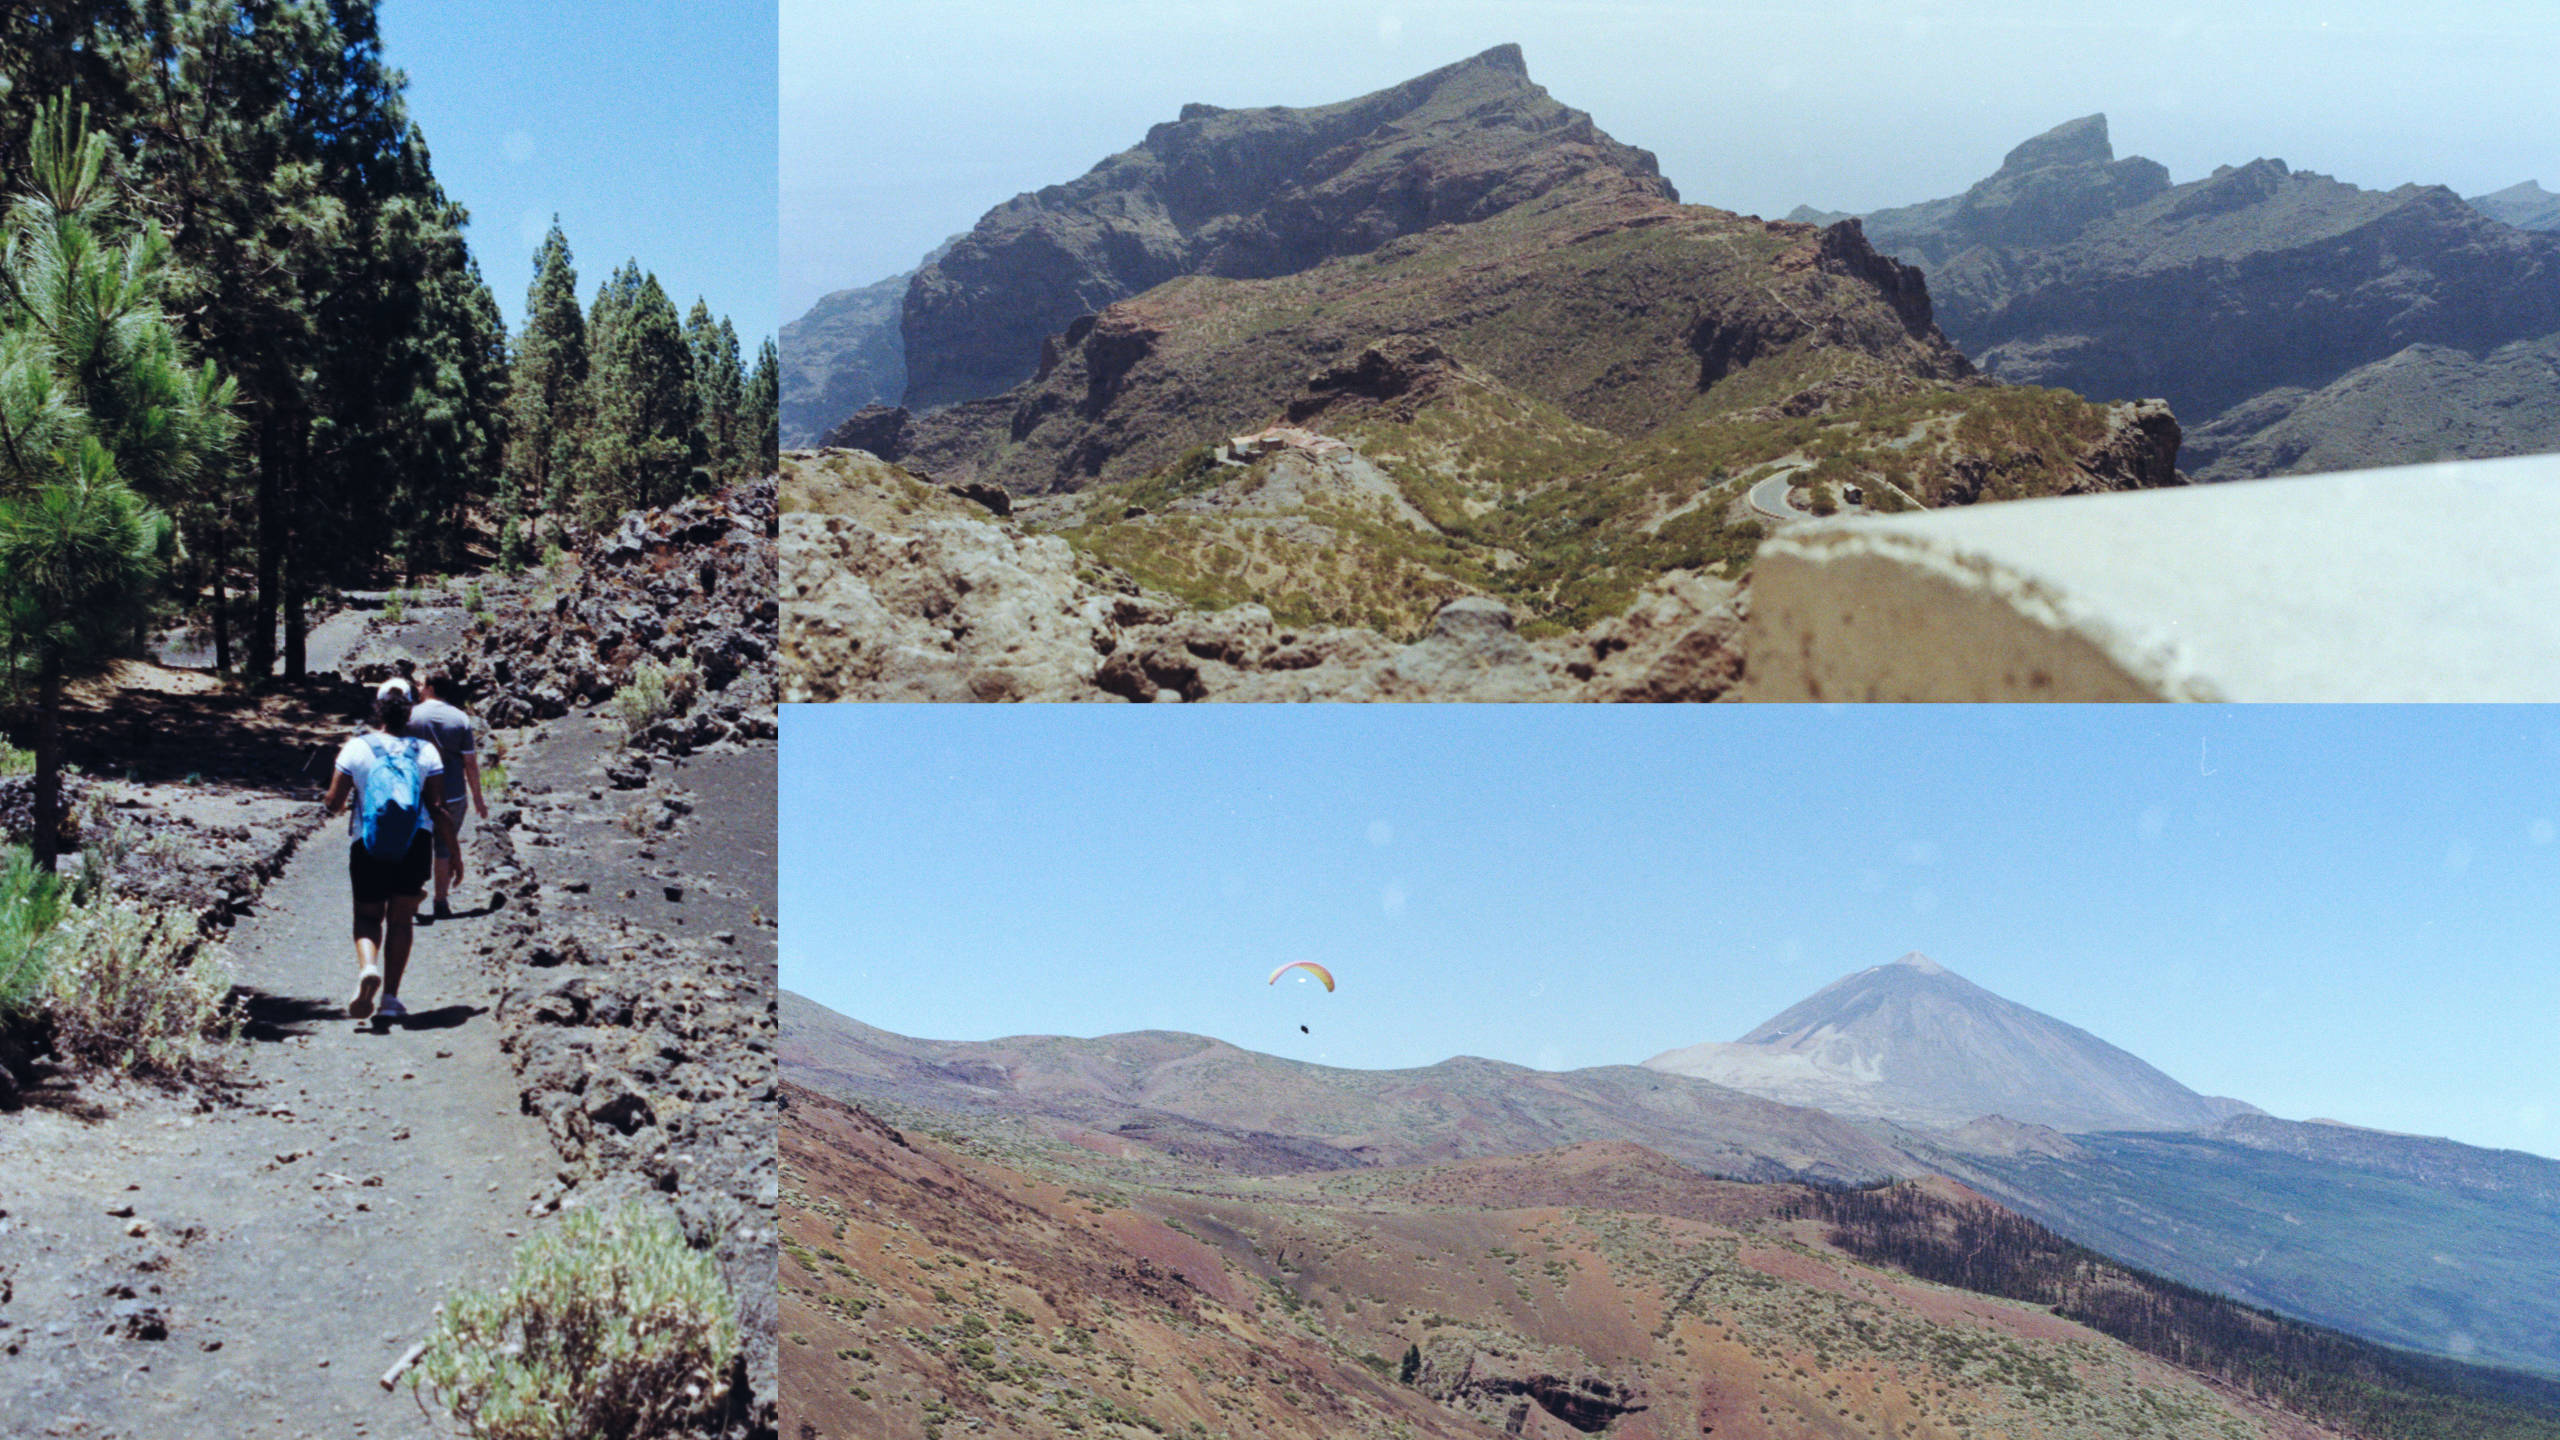
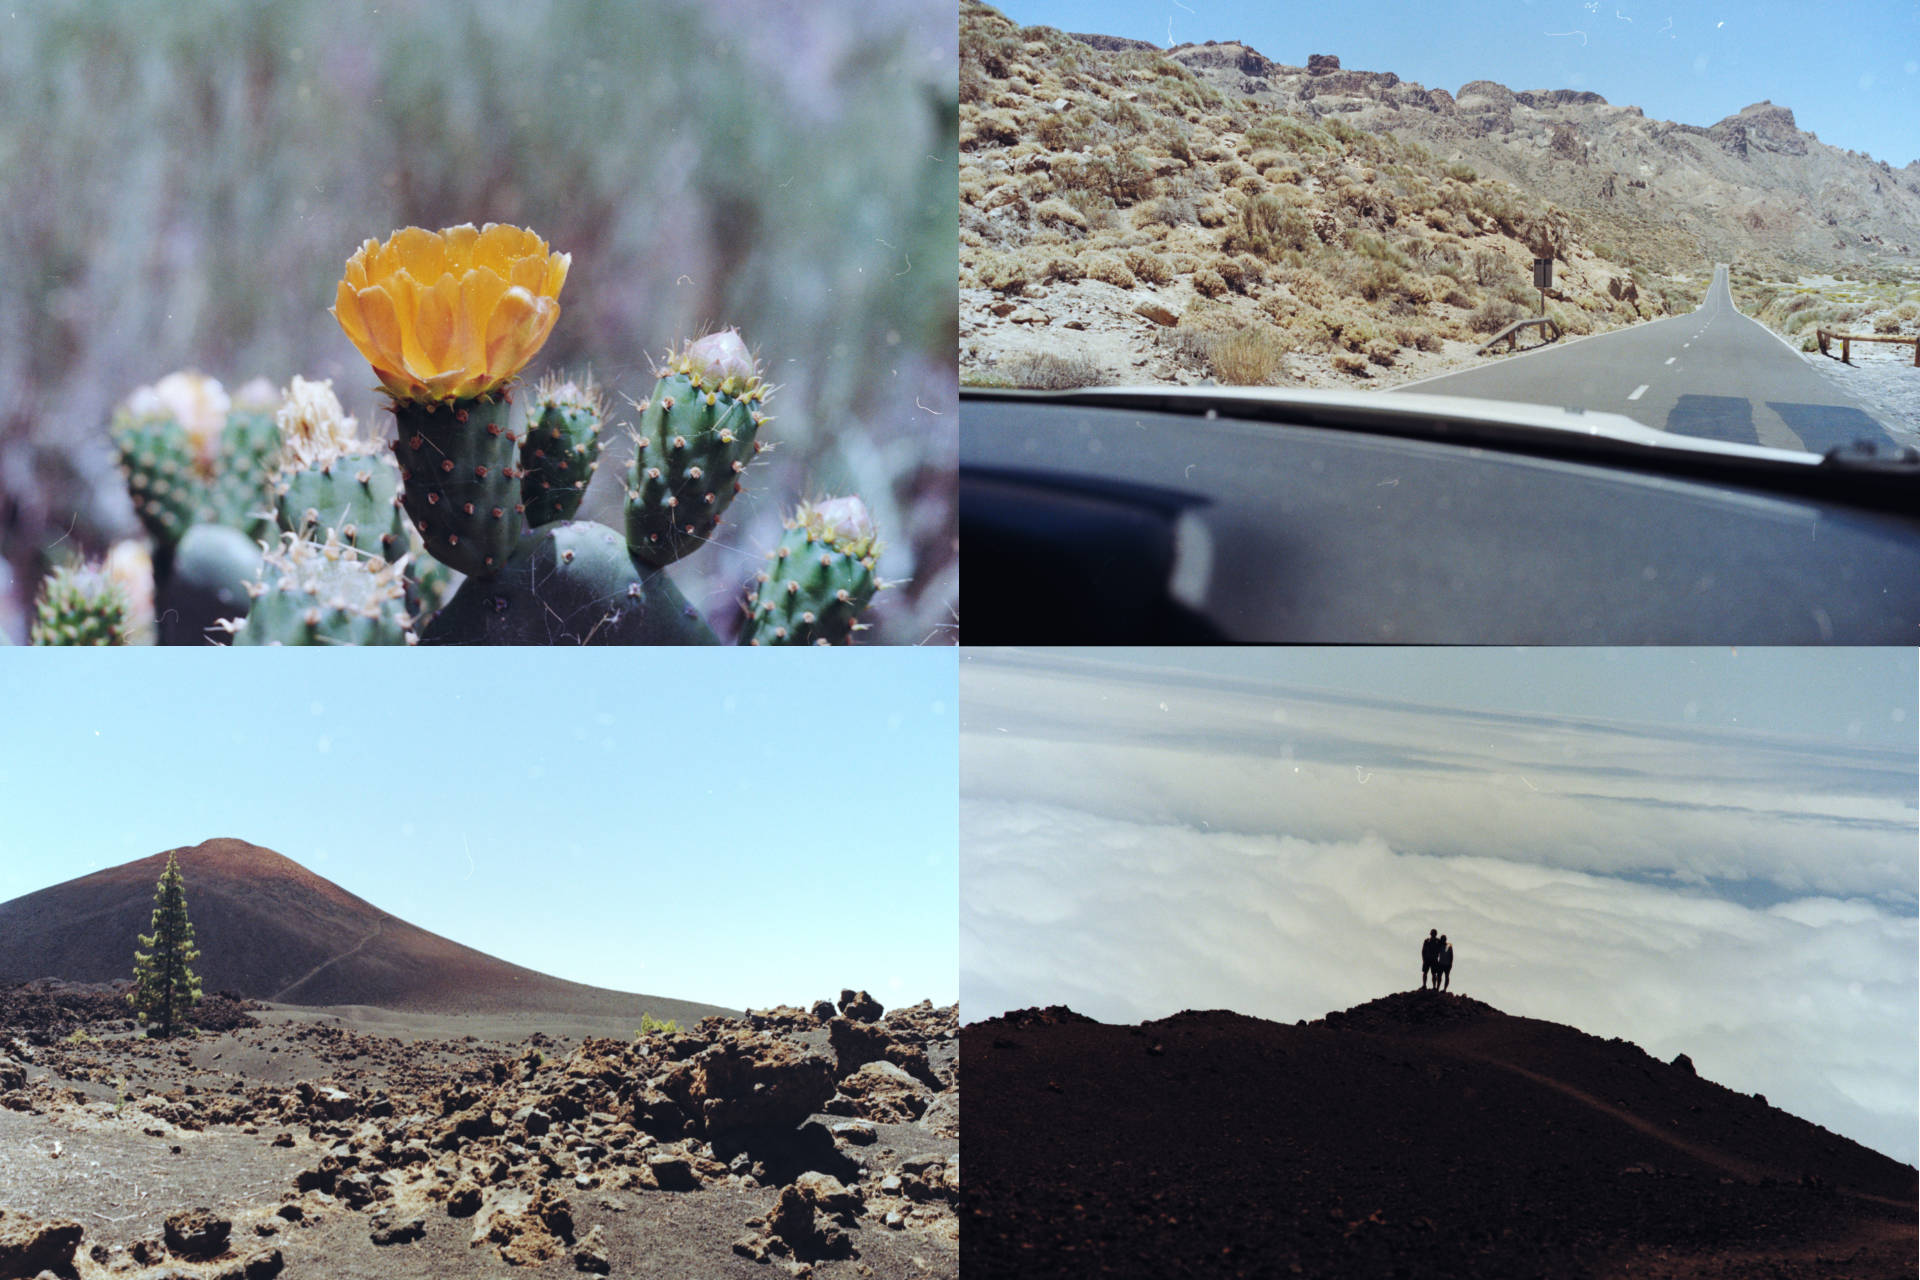
The next film is the standard speed Fujifilm Color 200 (ISO 200). Typical in my opinion for the Fuji films is their low saturation and their emphasis on the color green. A look I quite like, actually. I used the film for a lot of nature shots, especially in the volcanic region around the Teide.
Kodak ProImage 100 (XD7)
After the Fuji I loaded the ProImage 100 (ISO 100) into my XD-7. The film provided warmer colors without getting to much saturation. A very well-balanced film as you would expect from a “professional” Kodak film.
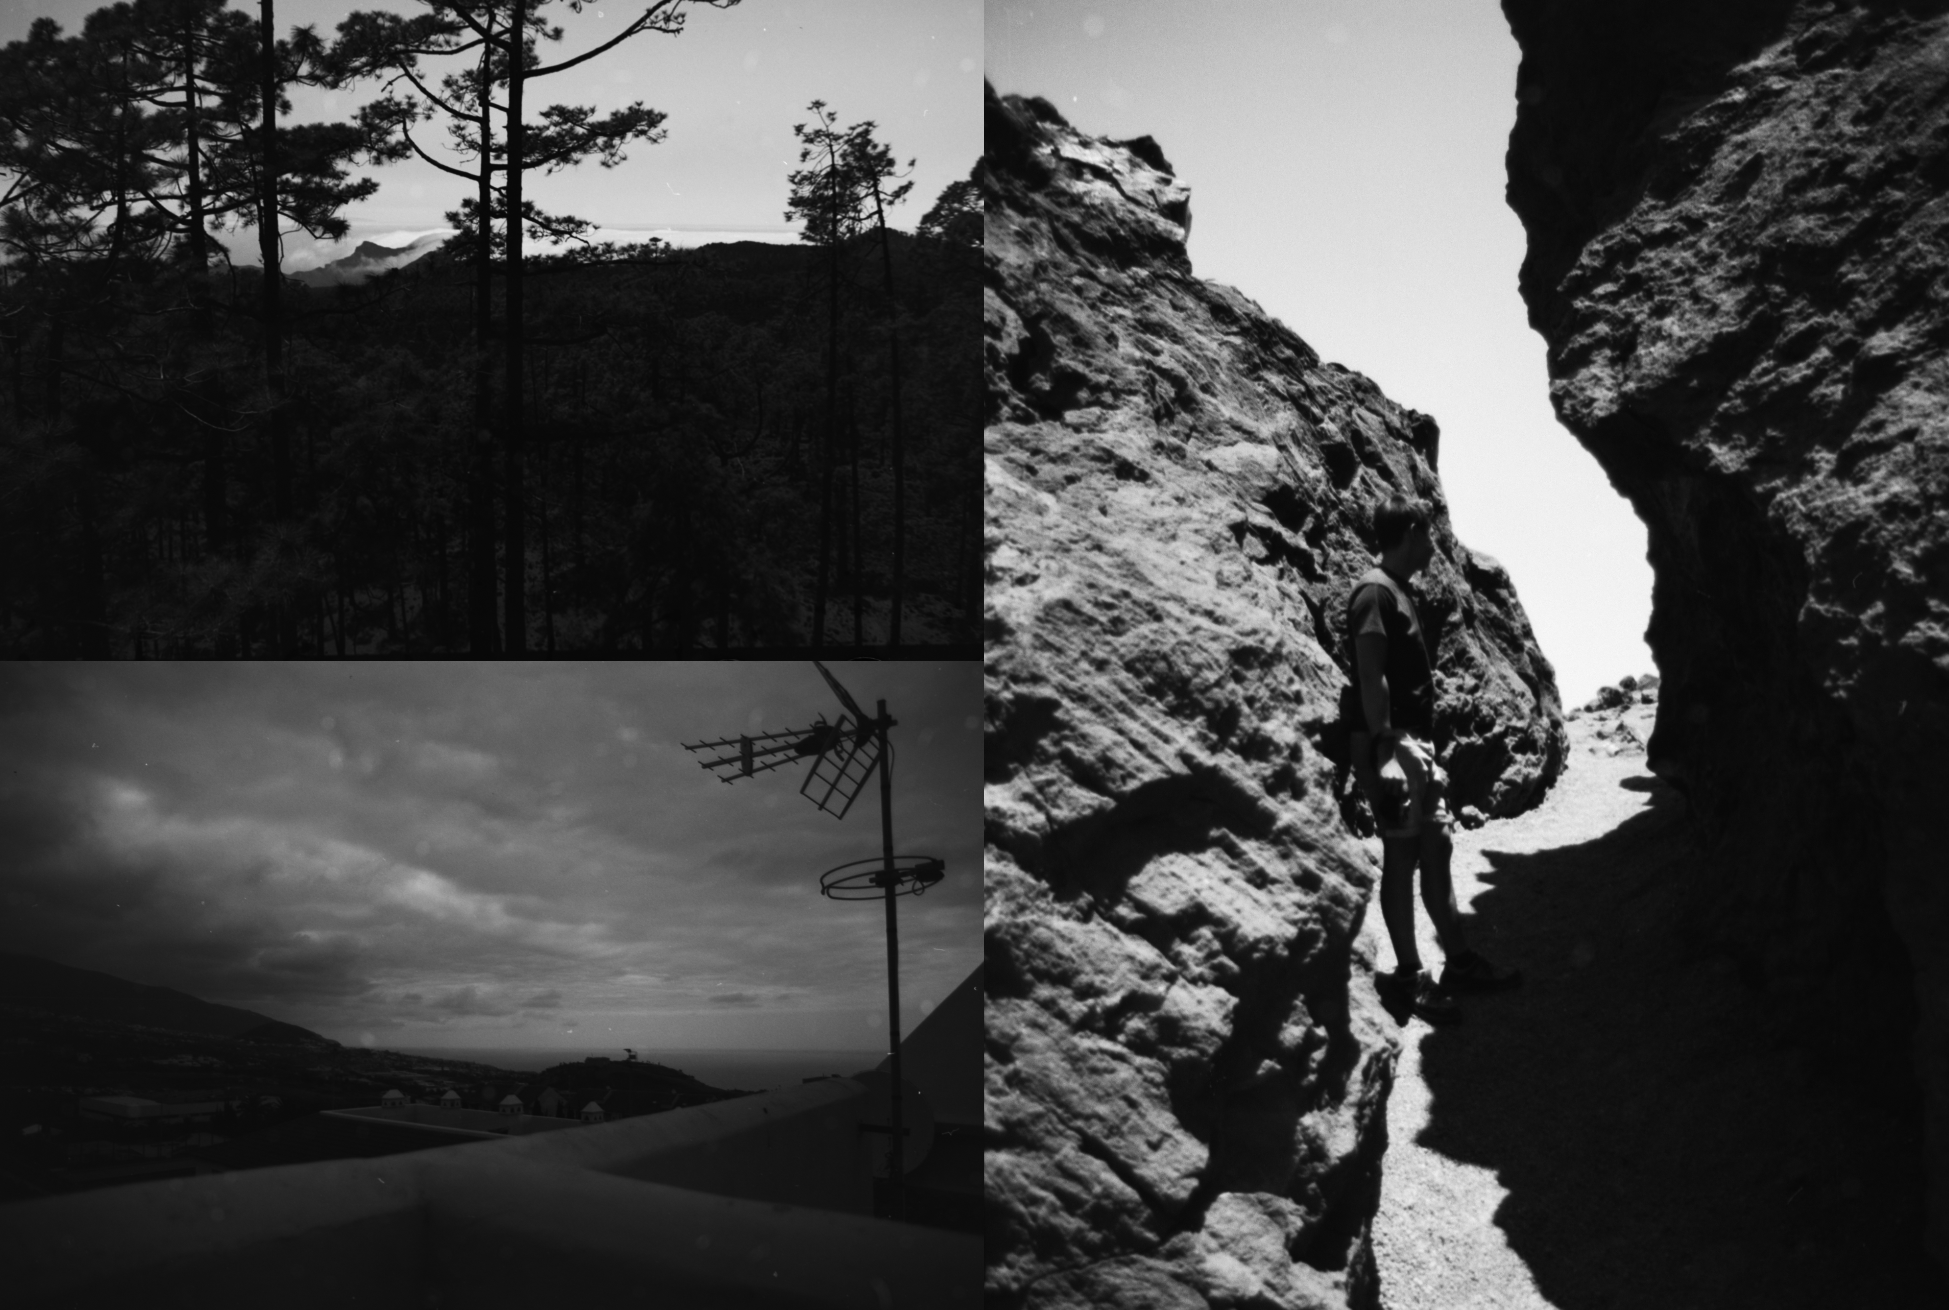
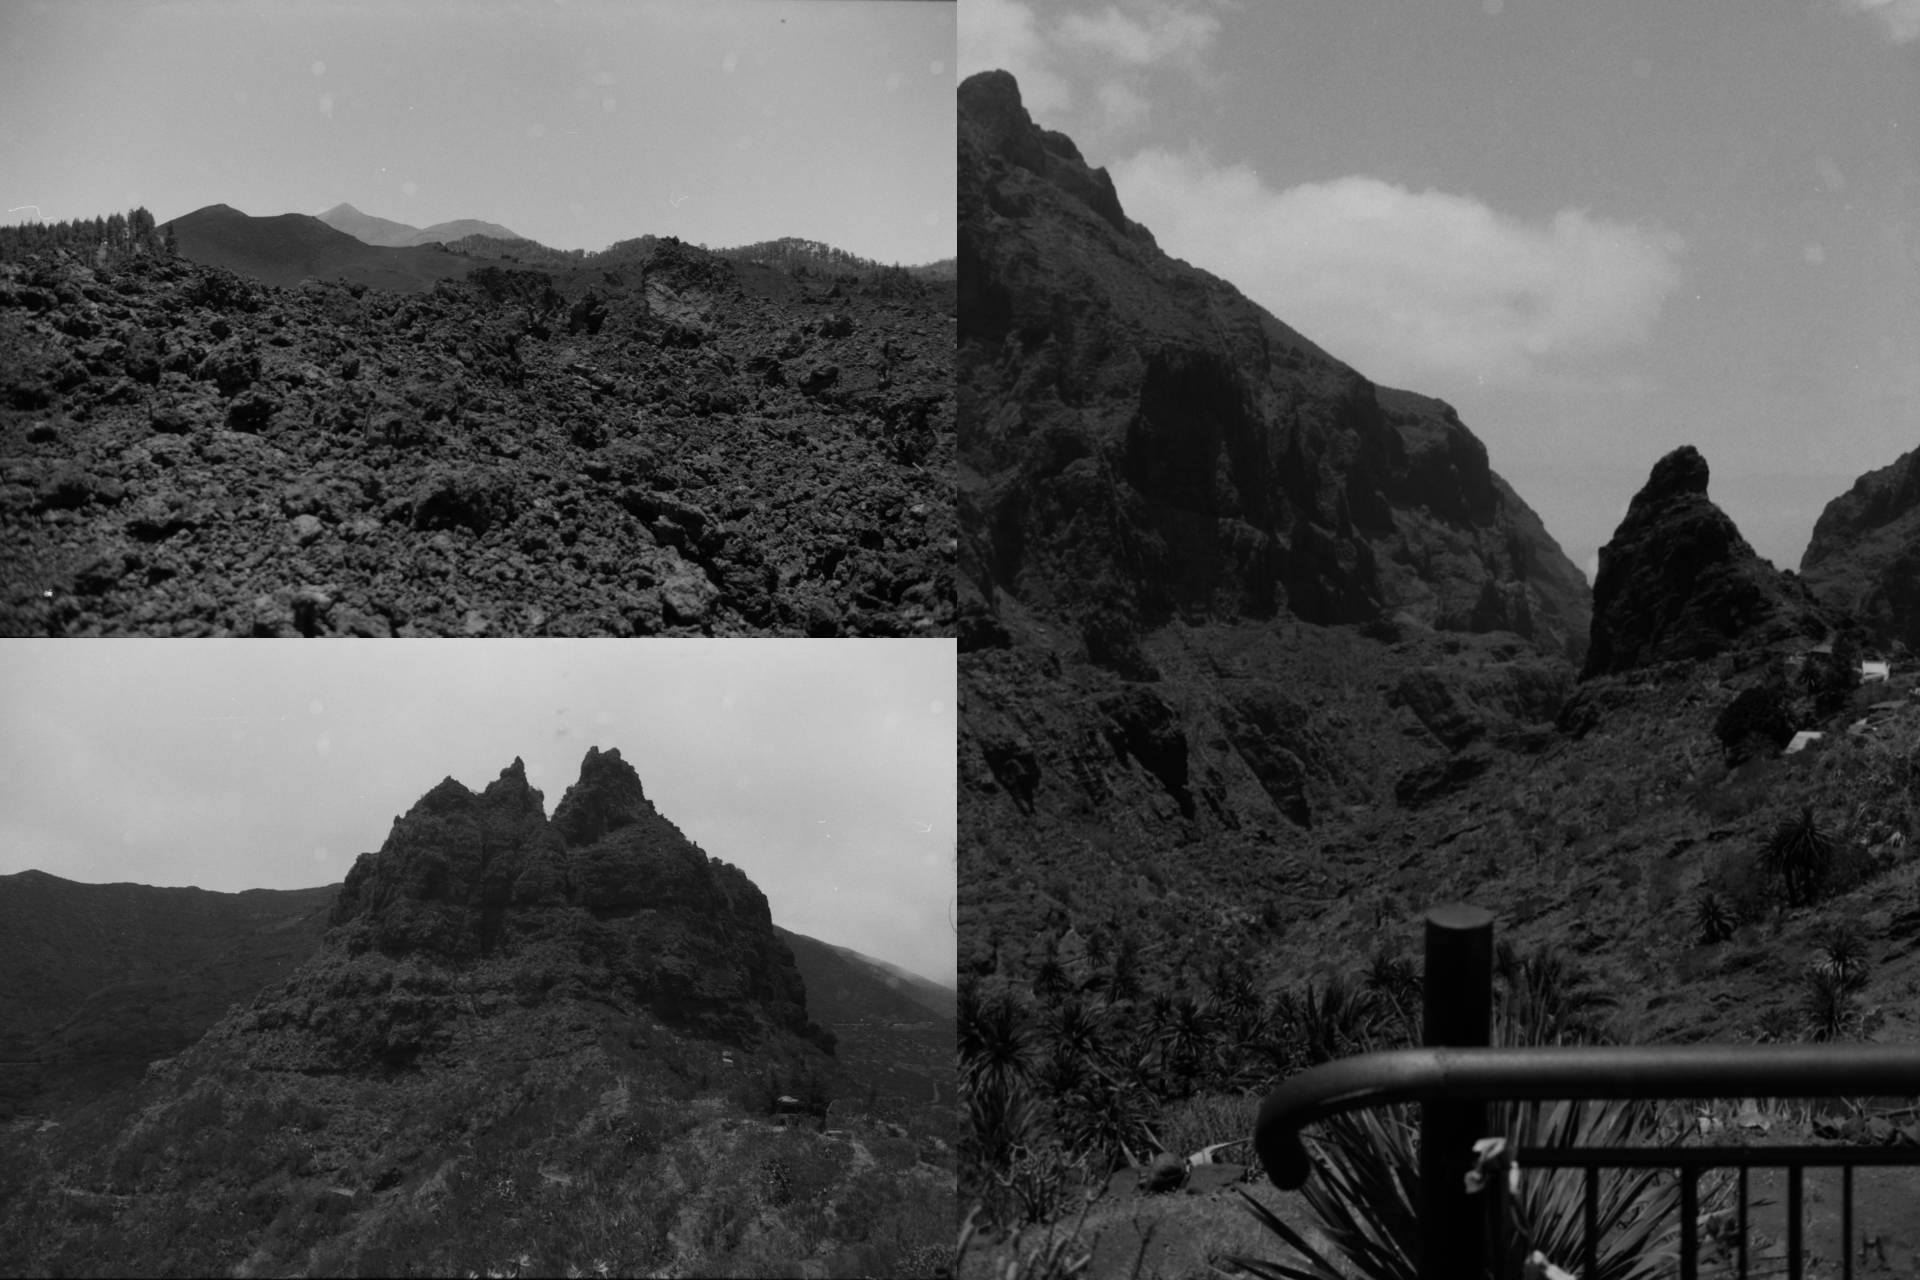
Rollei Ortho 25 (STX-1)
Another special film I used was the Rollei Ortho 25 (ISO 25). It is a low speed black and white orthochromatic film. Orthocromic means that the B/W film does not react with every wavelength of light often creating images that lack certain details. The film is very sharp and in my opinion great for landscape photography.
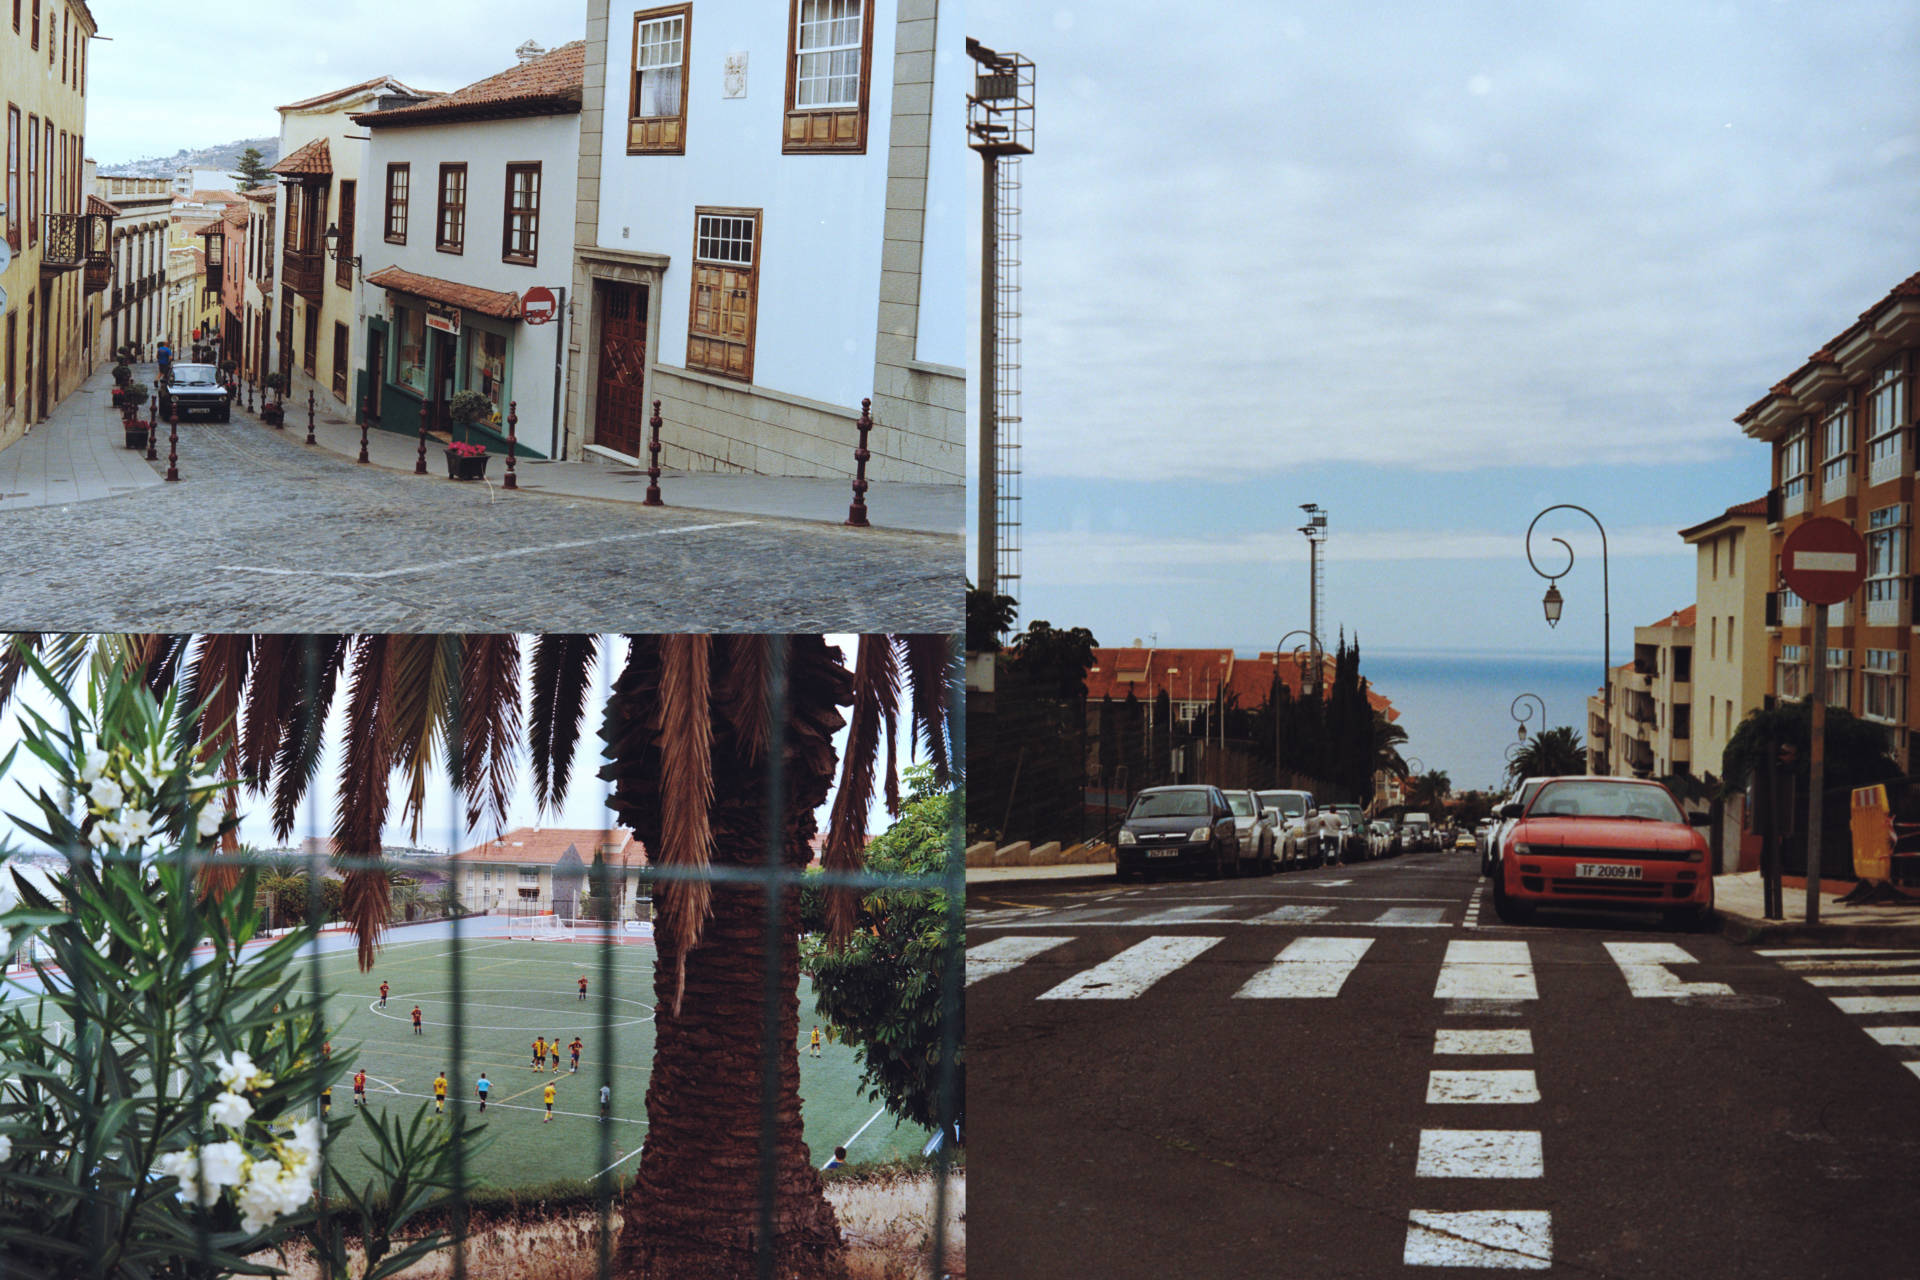
Fujifilm Color 400 (XD7)
Besides the Fujifilm Color 200 I also used the ISO 400 variant. It came handy on a very cloudy day in the city we were staying (La Orotava). The film produced surprisingly sharp images with great colors while having this great Fuji-Look.
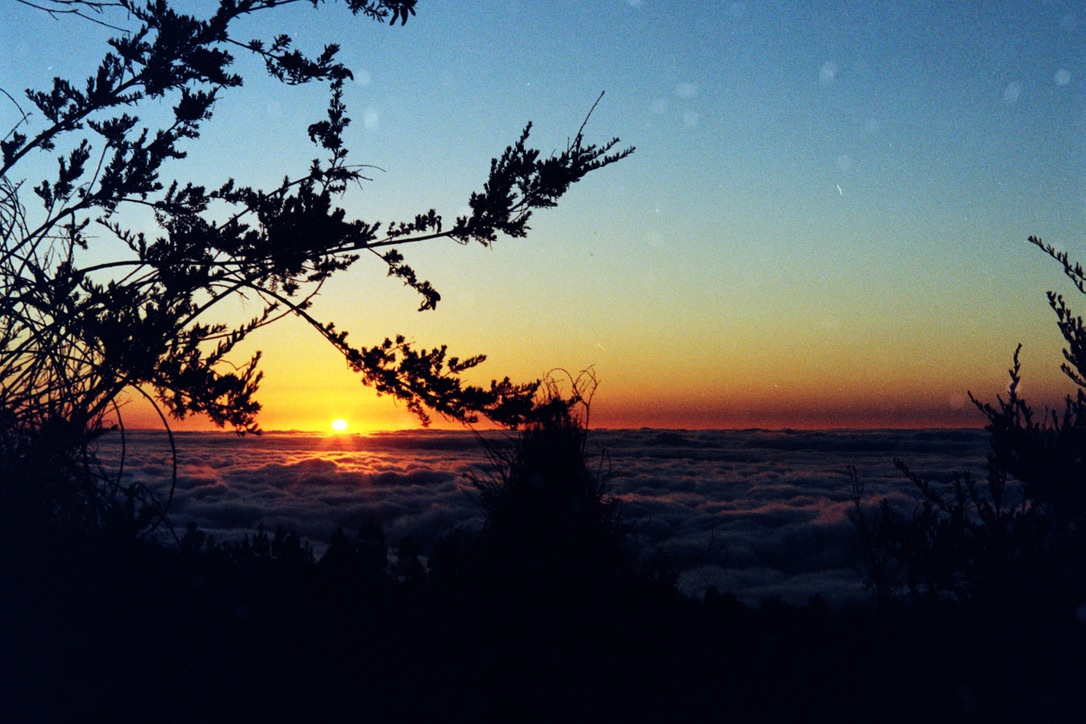
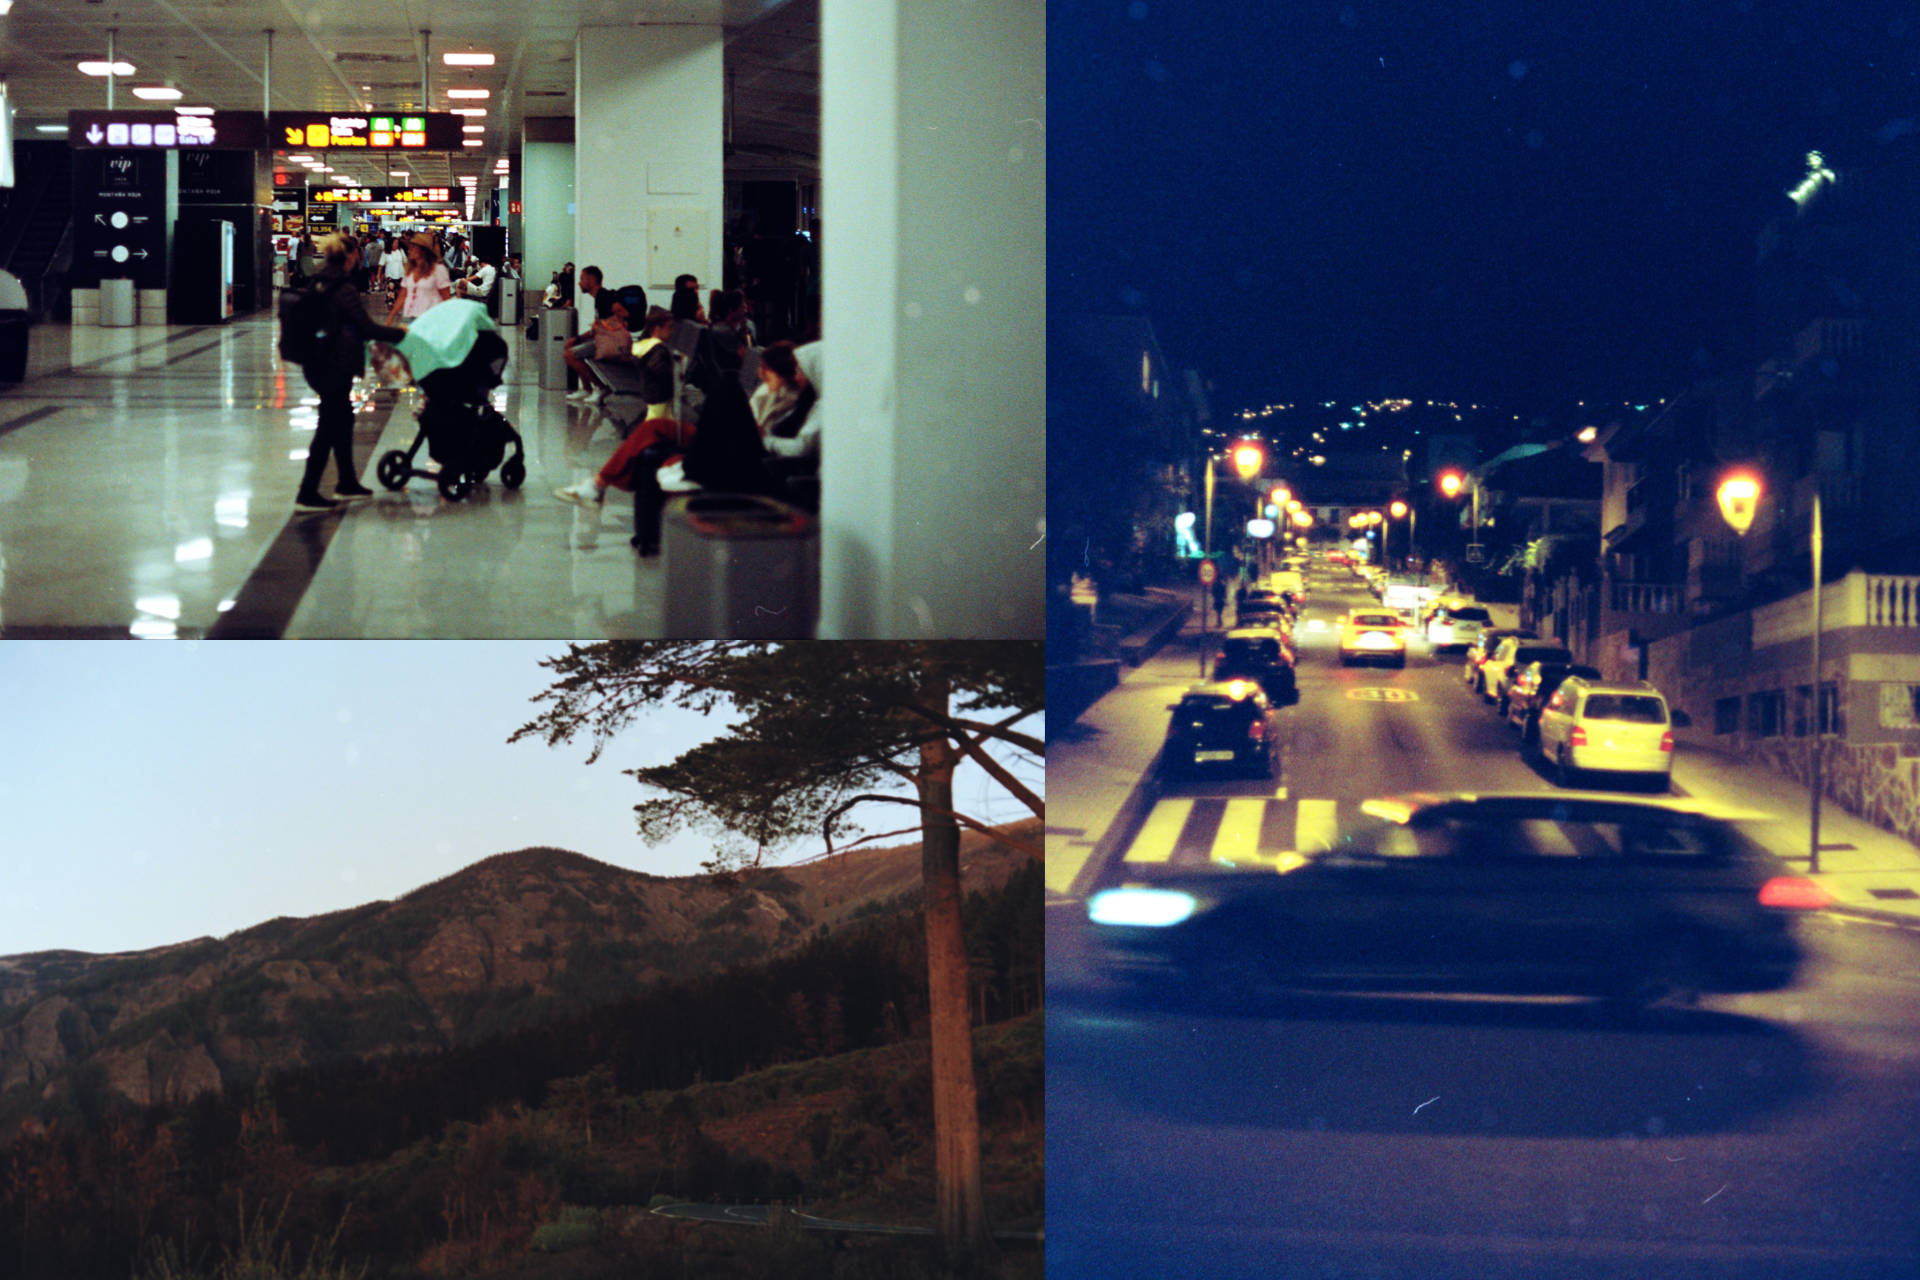
Kodak Porta 800 (XD7)
One of the most interesting films in my batch was the Kodak Porta 800 (ISO 800). Its relatively high speed allowed for low light shooting in combination with my f/1.4 lens. But it also allowed for great natural looking portraits I sadly cannot show here. A pricey film that is fun to shoot. The title photo of the post has also been shot with this film stock.
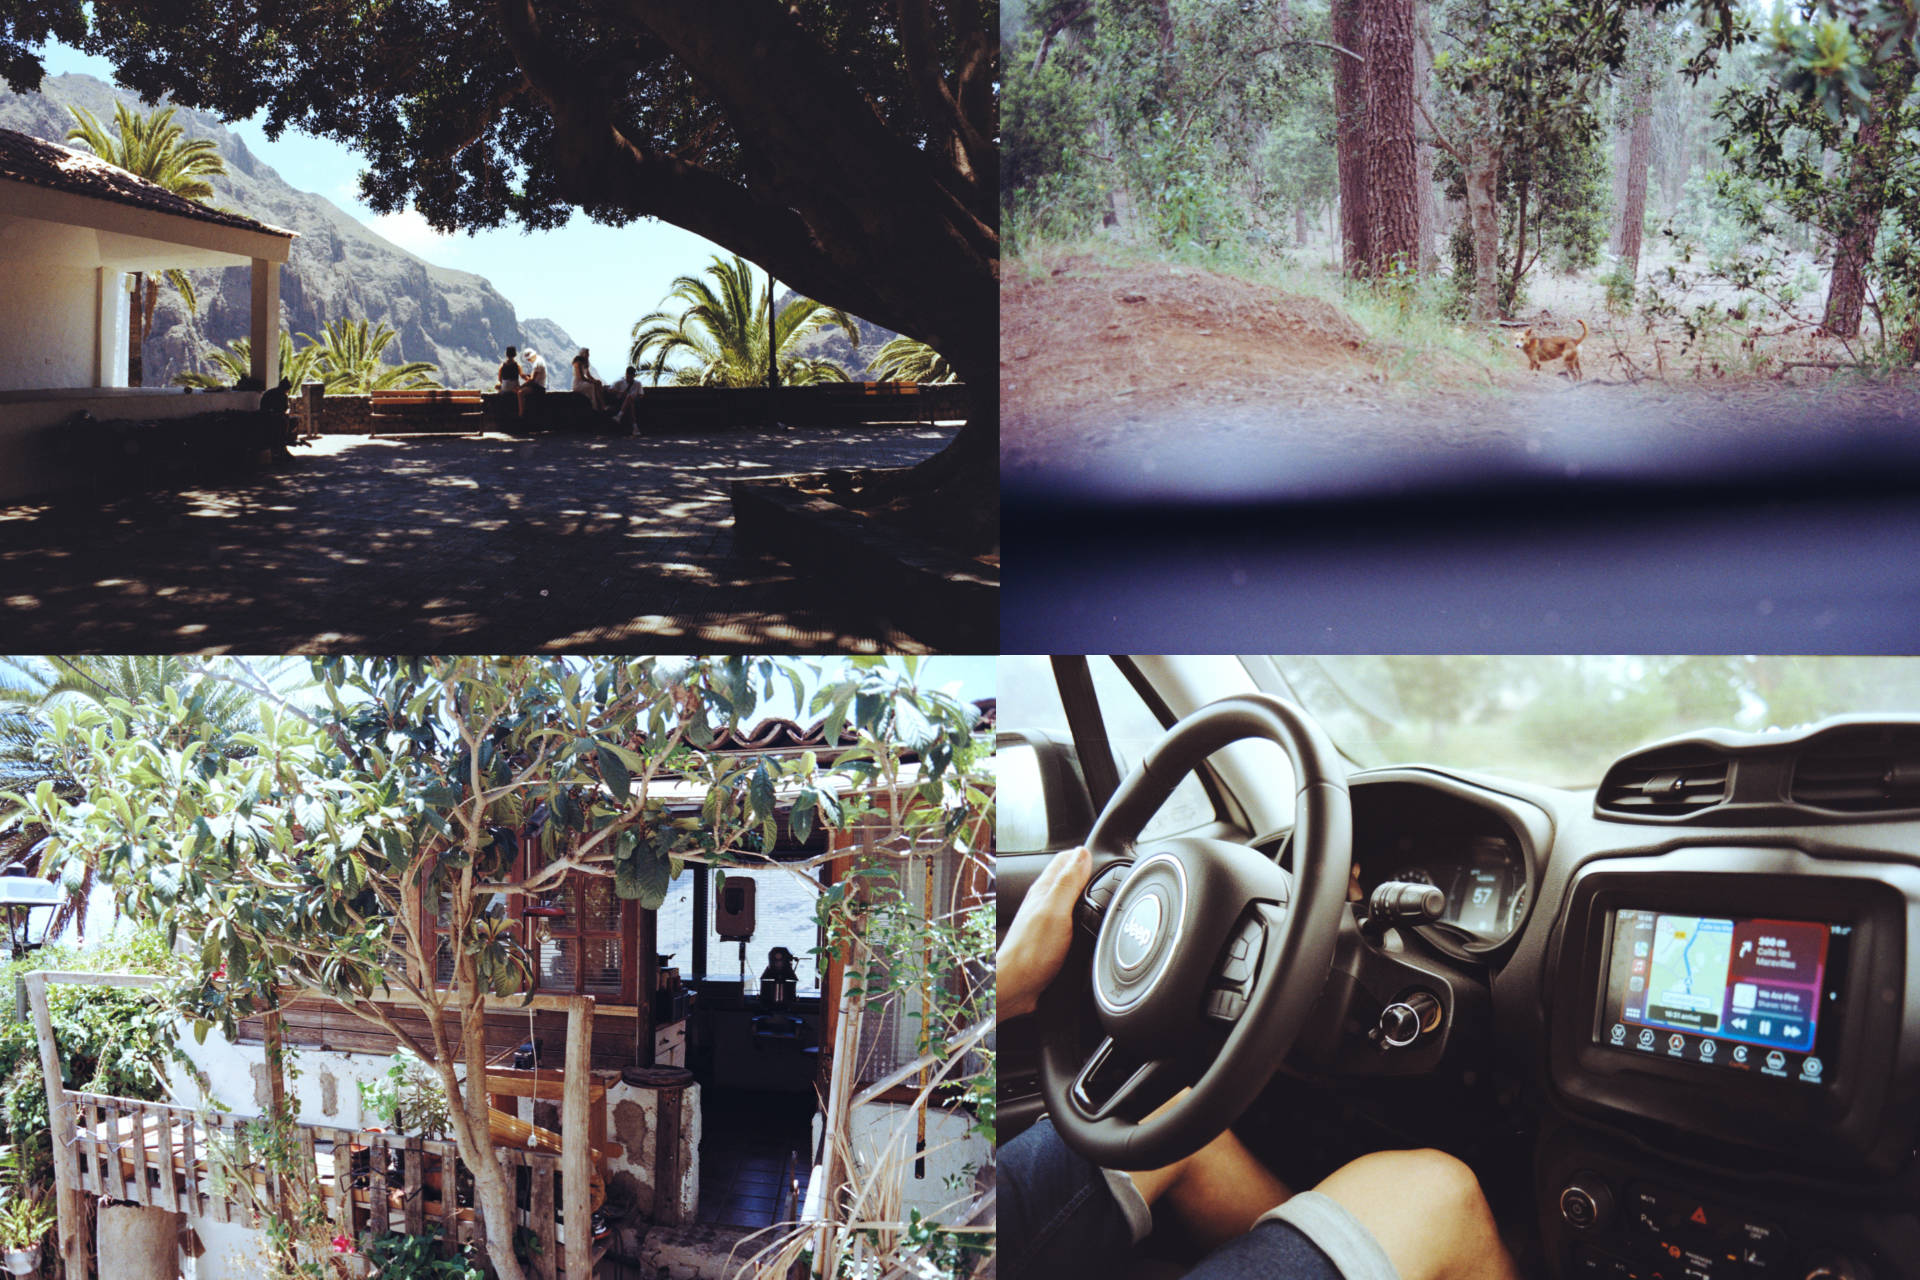
Kodak Color Plus 200 (STX-1)
The last film I want to talk about is the Color Plus 200 (ISO 200) by Kodak. It is basically an old-school version of the popular Kodak Gold 200. That means warm images with well saturated colors.
Finishing thoughts
All in all, I am quite pleased with the photos I took. Photographing with film forces you to really think before you shoot. Something that often comes short when making photos digitally. Not just because of the cost of each photo but because the cameras are less sophisticated. But in the end I is always the photographer that makes the photo, not the camera. Another benefit of analog photography in my opinion is the look of the photos. Certainly, the images are not perfect, but they have a charm that is irresistible.
Links to all photos
Of course I only showed a few of the photos here. All images can be found here.